The Siegfried Forest - Flak Guns - MoHAA
Introduction
You're starting the sixth and last mission of Mohaa: "The Return to Schmerzen". This mission is the longest and toughest one, in my opinion. It's divided into several parts. This walkthrough deals only with the first part, The Siegfried Forest - Flak Guns. You'll have two objectives:
- Find and destroy two 20mm Flaks.
- Keep tracking towards the rally point.
Only two objectives and around 30 enemies scattered around a vast snowy forested area. Although in a very different scenario, this sub-mission reminded me of Sniper Town. You need to be very patient and careful. The enemies are hard to see and most likely, they'll see you before you can see them. So, watch your compass and quicksave often. You can get lost very easily in this forest. If you know the right path, though, you can avoid some of the enemies and head directly towards the objective points, passing through the map killing just 12 enemies, as you'll see.
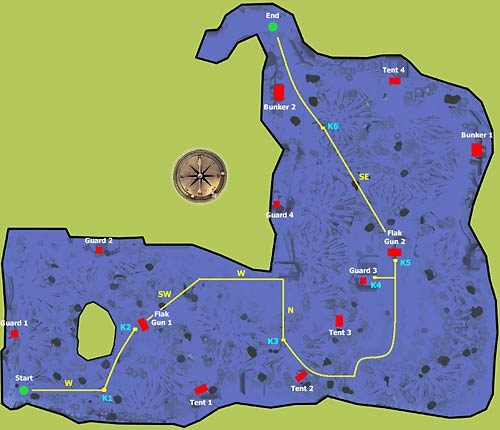
I won't give any general tip for this sub-mission, since much of what you have already learned so far applies here. But a very documented safe route is provided, so you can easily get into the end of the level just by following some steps. Please, take a look at the Main Picture, on the bottom of this page; all the references refer to that picture. Note that the small pictures used in the "Walking The Safest Route" topic of this walkthrough are not numbered.
|
Getting To Know The Enemies |
|
These are the enemies guarding the forest, in this sub-mission:
- Guard - just one enemy near the edge of the map (except Guard 3), with a rifle.
- Flak Gun - the objective; it needs to be destroyed. Two enemies with rifle guard each Flak Gun.
- Tent - a group of enemies gathered near a tent:
- Tent 1 - 6 enemies: five with rifle and one with a machine gun. One of these enemies is patrolling the nearby area. No stationary machine gun.
- Tent 2 - 2 enemies: one in a stationary MG, the other with a rifle.
- Tent 3 - 4 enemies: one in a stationary MG, three with rifle.
- Tent 4 - 2 enemies: one in a stationary MG, the other with a rifle.
- Bunker - a group of enemies gathered inside a fortified bunker, near the edge:
- Bunker 1 - 3 enemies: one in a stationary MG, two with a rifle.
- Bunker 2 - 4 enemies: one in a stationary MG, three with a rifle.
Note that the positions of the enemies are not fixed. Some of them get out of their original position when they notice your presence.
It's very hard to give directions inside the forest, since there are no landmarks available, only trees and stones and they all seem to look alike. So, we need to use the compass very carefully, paying close attention to the points where we have a change of direction. Also, whenever near the enemies, don't run, walk or walk crouched.
Route to K1 - You start the level on a corner of the map. Don't move. Using the mouse, just turn yourself right and look exactly to West. Now start walking ahead. K1 is the location from where you can see the first enemy. He will see you, as well. Only by practicing it you'll get to know the exact location.
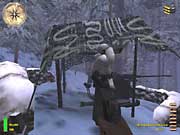
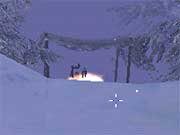
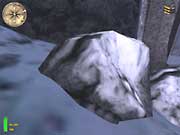
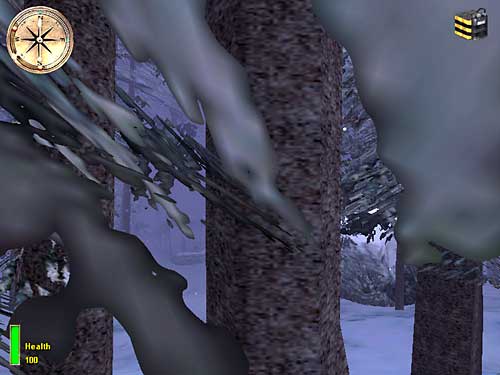
Route to K2 - Now take the direction of your next objective. You'll reach the first Flak by its back (pic. 1). The two enemies won't be aware of your presence until you kill one of them (or do enough noise!).
| Pic. 1 - You get to the first Flak through its back, so the enemies won't notice you coming. |
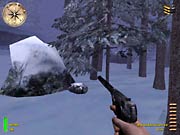
Route to K3 - Standing exactly in front of the destroyed Flak gun, look a little to the left of the SW direction (see the compass in pic. 2). You're going to walk towards this direction. Note that if you walk straight ahead, i.e., SW, you'll have to stop due to a sort of a small plateau that raises above the floor. You will actually climb up this plateau but using its left side. If you go through the right side of the plateau, enemies at tent 1 can see you.
| Pic. 2 - Head a little southern than SW direction (see the compass) to get to the left edge of the small plateau (to the right, at the pic). If you take the right, enemies will see you. |
 Once you get to the left corner of the plateau (small pic. far left), keep walking that same direction (near-SW) until the path is clear for you to change direction to West now. Then, keep walking West.
 Walk West until you reach the edge of the map, where you'll find a stone (small pic. beside). You must proceed West and you may have to strafe a little to the right. |
| |
 Keep walking West until you find the corner of the map, where two rather big stones stand in the floor (see small pic. at far left).
 Approach those two stones and position yourself looking South, as indicated in the small pic beside. Now, just using the mouse, look back, to the North, and start walking towards this direction. |
| |
 Soon after you start walking North, you'll see a big stone, to your right and a big tree straight ahead (see small pic at far left).
 Keep walking North until you reach the big tree trunk (small pic beside). |
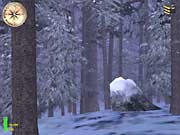
Once you're near the big tree, pay attention to the left side of the trunk and you can already see tent 2 far away (pic. 3). You're at K3.
| Pic. 3 - As you approach the trunk of the tree, you can already see tent 2 to your left. |
Route to K4 - Walk in the direction of Tent 2.
Route to K5 - Come back to the depression and resume your way to the second Flak. You're at K5.
Route to K6 - Stand in front of the Flak gun. Then, aim Southeast direction (SE) and start walking.
 Walk SE all the way until you see a big stone to your left (small pic at far left). You may have to strafe slightly to the left or the right to pass through some trees, on the way to this stone. Always strafe back, after you have passed the obstacle.
 Approach this stone but do not go ahead of it. Strafe right, in front of the stone, until you can see the trees ahead of it, to its right side (small pic beside). Then, go ahead and take cover using the trees. You're at K6. |
- K1 - Kill the enemy that's patrolling the area, coming from and going to Tent 1 (pic. 4). Use the Springfield and try to avoid him to escape the first time he sees you (and hopefully you see him). As soon as he sees you, he will turn around and run back to tent 1 to come back later, at a slight different position, so kill him before he runs back.
| Pic. 4 - The first enemy is agile to return. Kill him before he can head back to the tent. |
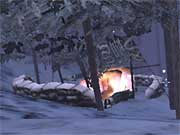
- K2 - Kill the two guys guarding the Flak gun (small pic. 5). Silenced pistol or Springfield are okay. Explode the Flak gun. Don't forget to run back and avoid harm to yourself (small pic. 6).
| Pic. 5 - You can align the two enemies to make killing them easier. |
|
| Pic. 6 - It's a big explosion so you'd better be far away to not get hurt. |
|
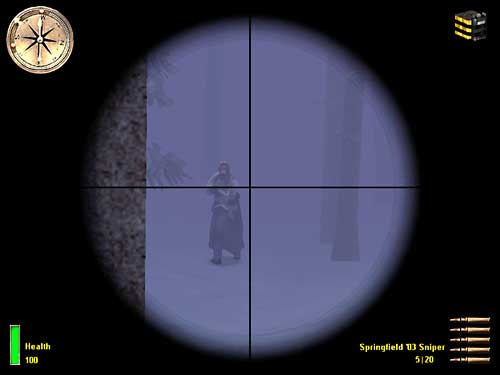
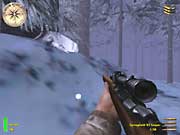
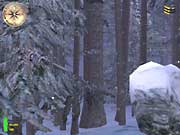
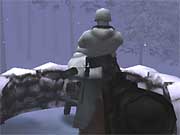
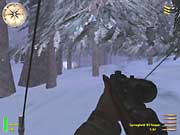
- K3 - Kill the two guys at Tent 2. First, the guy stood up, then the guy at the stationary machine gun. Use the Springfield. Use the tree as a cover. If you're at the right location, they won't notice your presence and killing them, in that order, is very easy (pic. 7, with the scope view at the bottom right corner).
| Pic. 7 - Use the Springfield and kill the guy stood up. Only after, kill the guy at the stationary MG. |
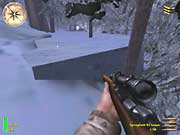
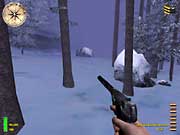
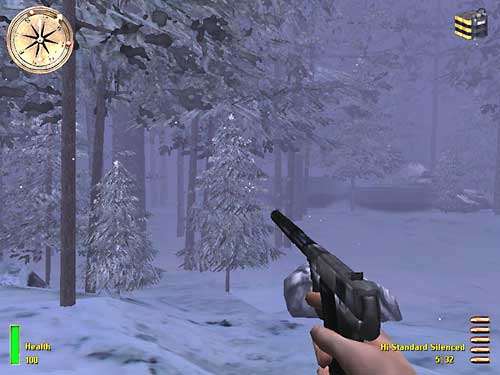
- K4 - Kill the guy guarding the area. Use the silenced pistol (small pic. 8). Do not approach him too much. Do not get his ammo.
| Pic. 8 - Easy to kill if you don't approach him too much. |
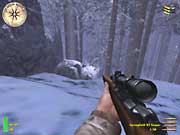
- K5 - Kill the two guys guarding the 2nd Flak gun (small pic. 9). Pistol is okay (I love this weapon). Explode the Flak gun and don't forget to run back (small pic. 10). Just out of curiosity, the second guard will notice your presence only after the first one is dead (of course, you must not be noisy). So, you can have some fun with them. Pistol whip the one behind. Since he's not dead yet, the other won't notice. Then, shoot the other to kill him and pistol whip twice more the first one to finish killing him. Try other alternate ways to kill them.
| Pic. 9 - You can try different ways to kill the guards at the Flak guns. |
|
| Pic. 10 - Again, get cover from the big explosion by running away. |
|
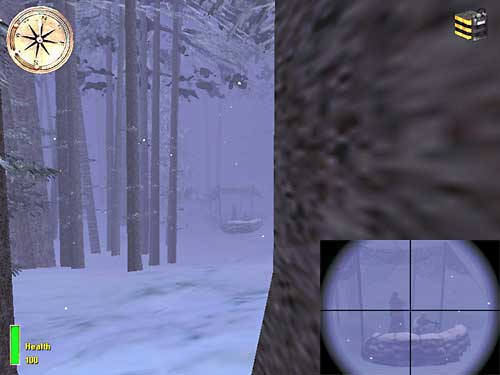
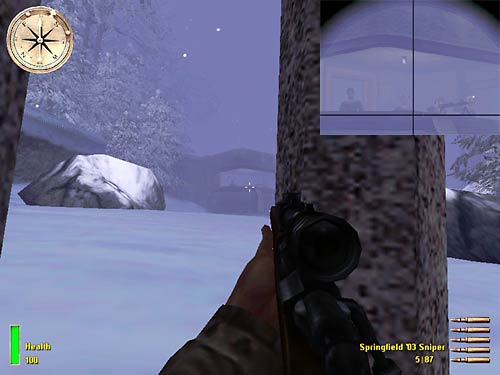
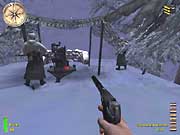
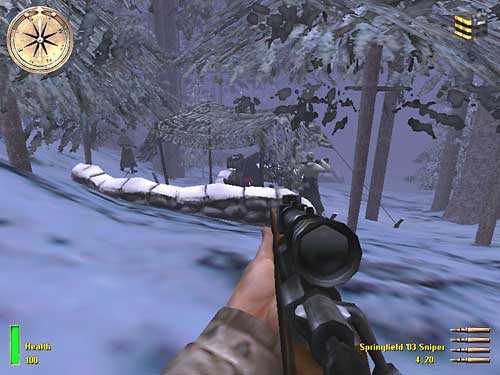
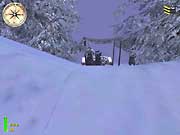
- K6 - Kill the four guys inside the fortified bunker. Use the Springfield. Use the tree as a cover (pic. 11, with the scope view at the upper right corner).
| Pic. 11 - You can use the nearest tree to the bunker as cover and the enemies won't notice you. |
If you're at the right position, all the four enemies inside the bunker won't be able to see you. You can kill them one at a time, easily.
You can head to the exit of the map now.
|
Finishing With The Sub Mission |
|
If you want some other easy killings, instead of exiting the level, you can walk near the edge and kill easily the two guys at Tent 4 (small pic beside). Again, you can try alternate ways to kill them. Also, walking from Bunker 2 to Guard 4 direction, always near the edge of the map, you can easily kill Guard 4 because he's looking to the other side. Climb up the ledge where Guard 4 is located to make killing him easier.
You can also try an alternate path to kill the four guys at Tent 3. Before getting to K3, take a look at your left side and, between two trees, you can see Tent 3 (an easy way to find Tent 3 is, instead of walking North while looking North, to K3, walk North but while looking West, using strafe movement). When you see Tent 3, go a little to the West so you can see the enemies under the Tent, but they won't see you (you will be able to see just two of them). Then, kill them, but take extreme care because once you kill the first one, all the others (except the one at the stationary machine gun) will start moving around, hunting you, shooting at you. Try to kill the two guys that you couldn't see, when they pass in front of the tent. I must say that it's tough to kill them all without getting hit. The best way I found was using the machine gun, shooting selectively, to make them stop at your field of view, and, then, shooting them to death. After all four guys are dead, you can head to Tent 3 and, then, take North to reach Tent 2 by its back.
To kill the other enemies, I'll let you find the best way. I would advice you to kill them all, to clean the whole map from the enemies, since you have paid a lot of money for the game. |
Main Picture - A schematic map showing all the enemies and Flak Guns. Follow the yellow arrow.
Click the image to open a bigger picture. |
Obs.: The schematic map is based on cheated screenshots. All others are real screenshots or cut from real ones.
http://www.viol.net/mohaa
Version 1.00 posted on March 27th, 2002
(V.1.03 from Apr 3, 2002)
All rights reserved. © 2002 by André Viol.
 From Tent 2, take West direction again (small pic at far left). Actually, it's a little to the right of West direction; you should walk along the edge of the map.
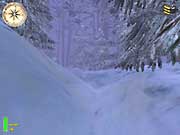
 That's the entrance to an elongated small depression in the snowy terrain (small pic at far left) that leads you to the second Flak gun.